One of the benefits of the planning in our projects stands out above the others: the planning is the guide or preview of what will be going on in the project over the coming days, months or years. It’s true that things will depend on our skill at planning as a Project Manager to take into account the real availability of all the resources.
That’s why we recommend you check out the lesson from the free online project management course. In it, Richard Balet, Sinnaps CEO, gives some tips on how to plan our work in a realistic way.
When planning, we assign some resources and some people we want involved in doing the tasks. Meanwhile, we try to balance everything out so that consumption is even and adapted to a given deadline and budget. We can analyse and study all of this at a glance in the resources planned reports.
This ‘resources planned’ report is of great use in visualising the planned cost for each person. The Project Manager can control what outgoing costs are expected at all times.
Remember that unlike the resources spent report, here with resources planned, we’ll have the expected rather than the real costs or consumption that a resource may use.
Note: another very useful way to be aware of what we’re planning is by accessing the planning itself and studying the spent resources graph.
HOW DO I GENERATE A PLANNED RESOURCES REPORT IN SINNAPS?
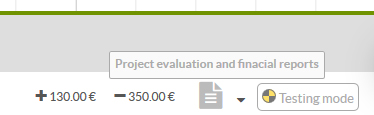
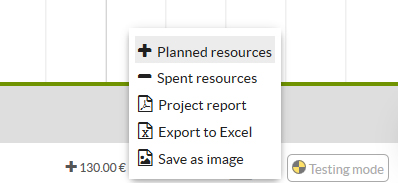
Once in the project planning, access project reports from the lower section of our planning. Three report options will drop down: spent resources, planned resources , and project resources.
Now click on Resources Planned Report.
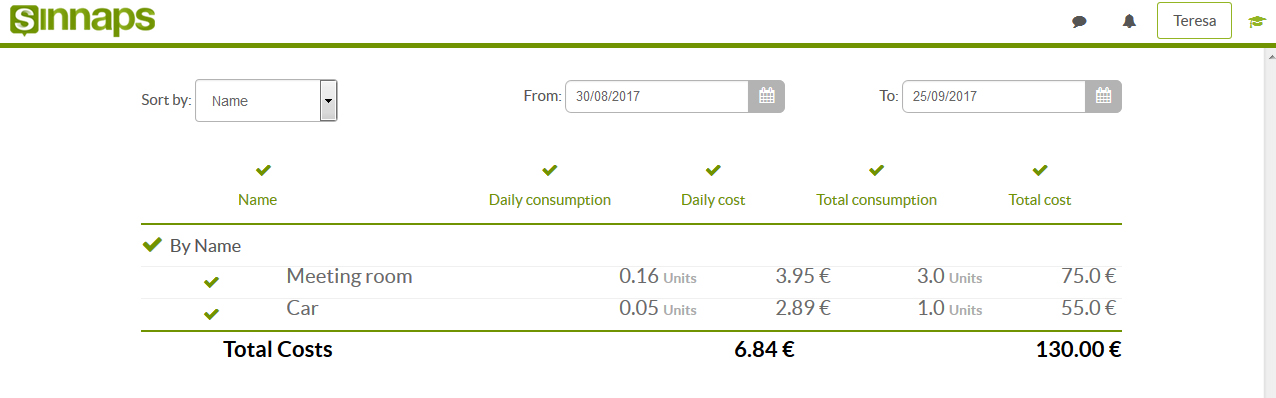
This way we’ll automatically generate the following online report.
Sinnaps gives us the choice of ordering the resources by activity, type or alphabetically. What’s more, we can select how things are grouped together and specific dates. We order the resources alphabetically, by consumption or by cost, by clicking on the heading for the corresponding column.
Sinnaps also allows us to configure the report according to our needs: we can do this by deactivating a particular resource, activity or user by clicking on the symbol which sits next to each piece of editable data. If it has a red ‘X’ next to it, then this item will neither be noted nor added into our report.
What’s more, we can establish a specific period of time.

This way we can configure the report with just the information we want to show. Once we have everything as we want it, we can preview the report.
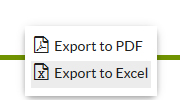
Lastly, we can export the reports into PDF or Excel.

IMPORTANT: Access to the various reports is dependent on the license plan the user has contracted. The only user who can’t obtain project reports is the one whose role is that of Team Member.
Related links…
